Category Archives: DIY

DIY Delights: Five Easy Ideas for Handmade Wedding Favours

Photo by Photos by Lanty on Unsplash

Hey there, lovely readers! Welcome back to Handmade & Hitched, your go-to destination for all things, whimsical, weddingy, and oh-so-crafty. Today, we’re diving into the wonderful world of DIY wedding favours! If you’re a bride or groom-to-be looking to infuse your big day with a touch of personal charm, stick around for some delightful and (shhh) easy ideas that will have your guests swooning.

1. Love in a Jar: Homemade Jam Wedding Favours

There’s something truly heartwarming about receiving a jar of homemade jam. It’s like a little jar of love captured in sweetness. For this DIY project, grab some seasonal fruits from your local farmers’ market and whip up batches of delectable jams. Personalise the labels with your wedding date and a heartfelt thank you message. Your guests will surely enjoy this tasty reminder of your special day.

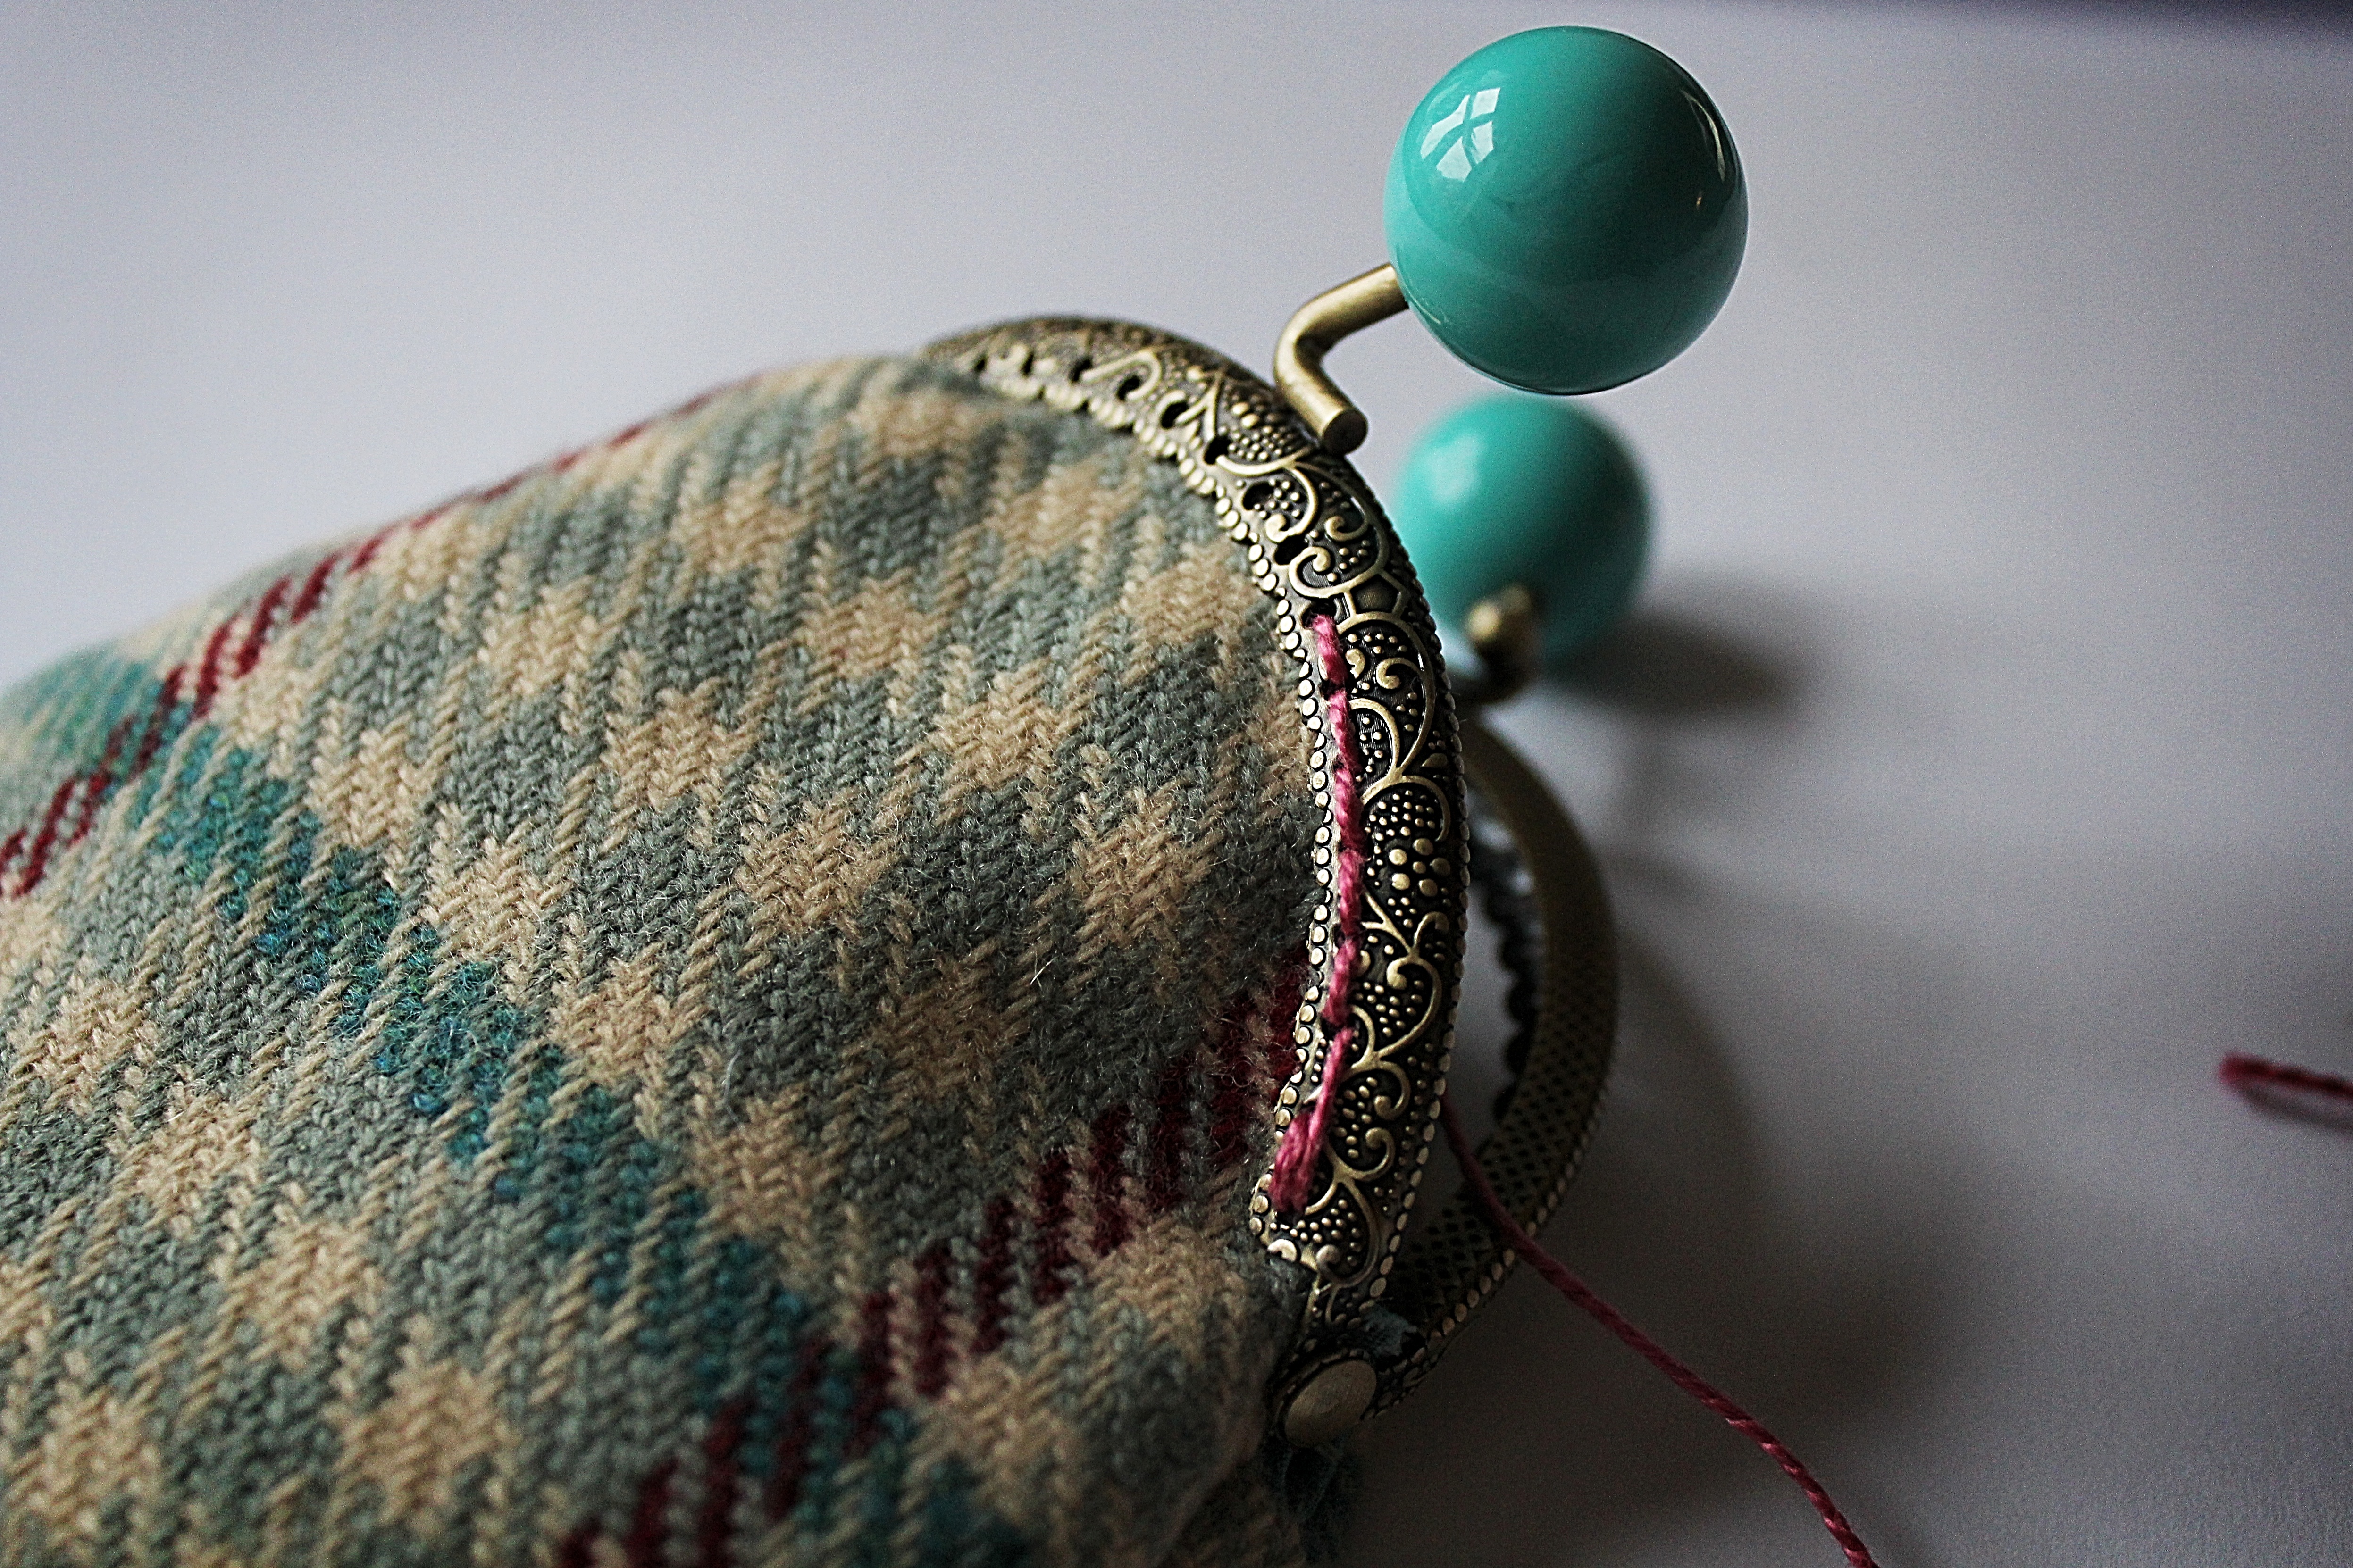
2. Scented Serenity: Handcrafted Lavender Sachets

Let’s talk about aromatherapy with a twist! Lavender sachets are not only charming but also wonderfully soothing. Gather some dried lavender buds and soft fabric remnants. Cut and sew the fabric into cute pouches, fill them with the lavender buds, and secure them with a cute ribbon. Your guests will appreciate the calming scent and the effort you’ve put into creating these little pockets of tranquility.

3. The Brewtiful Blend: Custom Tea Blend Wedding Favours

For tea enthusiasts, a custom tea blend makes for an ideal wedding favour, so why not source your favorite tea leaves and herbs, and mix them together to create a unique blend that reflects your love story. Package the blends in adorable tin containers or eco-friendly pouches and attach a note explaining the inspiration behind the blend. A heartfelt gift that will warm your guests’ hearts.

4. Seeds of Love: DIY Plantable Seed Paper

What could be more symbolic of new beginnings than plantable seed paper? Craft your own by mixing paper pulp with wildflower seeds. Shape the mixture into heart, flower, or leaf designs using cookie cutters. Once dried, package these delicate creations with care and provide instructions for planting. As your guests nurture their paper, they’ll be reminded of the love and growth shared on your special day.

5. Timeless Treasures: Hand-Stamped Keepsake Tokens

Unleash your inner artist with hand-stamped keepsake tokens. Purchase metal or wooden charms, and stamp them with meaningful words, initials, or dates. Attach these charming tokens to keyrings, necklaces, or bracelets so your guests can cherish a unique piece of your wedding day magic for years to come.

And there you have it, five fabulous and easy ideas for creative wedding favours that will make your guests feel special.

Stay crafty.

H&H x

Cool Crafting DIY Purse Kit

Last summer I picked up a nifty little ‘DIY your own purse kit’ from a craft fair in Manchester. The intention was to teach myself the art of purse making and share it with you lovely people so you can come up with ideas for crafting your own purses as cute bridesmaid favours. I’m ashamed to say it’s been staring me in the face for the last six months. It was time to take action, stop being lazy, and get down to giving it a whirl!

This little kit is put together by a business called Cool Crafting and comes in a variety of colour combos and patterns. Just check out their website and pick out your favourite. The kits are £11 each, but considering you can teach yourself a new skill, get a super cute purse, and gain templates and instructions to design billions of your own bespoke purses, I think it’s a bargain!

So here’s how I spent my crafty Sunday, Rita was back out (yes I have named my sewing machine) – it’s been a while and she was pretty dusty, I think it made her day… 

Purse_step_1

There’s no stinginess involved with the kit here, you get pretty much everything you need – extras you will need include scissors, sellotape, pins, and a sewing machine (although you could easily do this by hand if you don’t own one of Rita’s mates).

purse_diy_2

I found the instructions really clear and easy to follow. This was my first handmade purse and I think the results weren’t too bad at all – just blowing my own trumpet. Ahem.

purse_3

Getting all the right sides of the fabric facing, and knowing which bits to turn inside out was the most fiddly part, but I got there. Just follow the instructions to a tee.

IMG_5486 IMG_5491
IMG_5500 _Snapseed
IMG_5509 _Snapseed IMG_5512 _Snapseed IMG_5533 _Snapseed

The final result!

I’m planning on putting some of my own ideas together for brides / bridesmaid purses and clutch bags and will post the DIY’s for you here. In the meantime why not grab one of these kits from Cool Crafting and come up with your own ideas. You could add your own embellishments in the form of fabric flowers or sparkly jewels and buttons. Once you’ve mastered the art of this you could choose your own cute fabrics and make any kind of purse you desire! Make sure you come back here and share your handiwork, I’d love to see it!

Lot’s of handmade purse love n’ hugs (you get extra hugs coz it’s nearly Valentine’s)

Michelle x

All images ©Handmade & Hitched – I’m happy for you to reproduce my images but please link back to this post. Thanks 🙂 

Fresh Flower Crown DIY

flowercrownDIY

Well this week is set to be all about flowers on the blog. There’s been a cheeky little post on unusual flower containers and now there’s a floral DIY for you to get your teeth stuck into. Not to mention a fabulous supplier who specialises in gorgeous handmade blooms later on this week!

Anyway, where was I? Oh yes, a colourful DIY project, which doubles up as my photography homework. Every Tuesday night I attend a photography course, it’s nearing to a close and the final project is looming. I have been asked to take images of a journey, it doesn’t have to be an actual journey it can be a metaphorical journey. As long as there is a clear start and end point then that’s all that really matters. So here is my creative journey – making a fresh flower crown from A to B. I hope you like it! Feel free to give my homework a grade out of 10, all grades in the comment box below.

flowercrown1

You will need; super-duper sharp scissors or some wire clippers, garden wire, florist tape and flowers of your choice. “Is that all?” I hear you scream. YES it’s incredibly easy! I bought garden wire for a mere 60p from the supermarket (Tesco to be precise). The florist tape was £2 from Hobbycraft and the flowers were discounted as I bought them in the evening when they were no longer so fresh. Obviously you might not want to chance this on your big day, but for the purpose of the tutorial it was a bargain. If you have a beautiful garden in full bloom then clip some of your own flowers, making this a very inexpensive and yet fancy look.

So what’s next?

flowercrown2

Once you’ve figured out your lovely little head size, twist the wire around at the back, and then start twisting it back on itself to make a perfect crown. Don’t forget to leave a little extra room for the flower stems that will be added on. Create a loop that’s a little loose on your head at this point. Then begin covering the entire loop with your florist tape to secure any nasty sharp edges.

flowercrown13

Now the real fun begins. I know you just can’t wait to start adding those flowers on! Here goes…

flowercrown1flower

Add one flower at a time. Starting at the front / centre of the crown work backwards adding one flower behind the other. once one side is complete start from the front, working backwards again down the other side. The front centre flowers will be facing one another. Choose any colour combination you like. I kept trying mine on and looking in the mirror to see what would work best.

flowercrown6

flowercrowncollage

If you have left any gaps then you could fill them with tiny little flowers such as gypsophila. I would try to avoid saving this until the end though as it’s hard to work between the fresh flowers without damaging them. I think a good combination of heavy and delicate flowers throughout work well to break up the look.

And there you have it, your own beautiful fresh flower crown! If you make your flower crowns the night before your wedding and pop them in the fridge then they should still be fresh and perky in the morning. I think they would look lovely on bridesmaids, flowers girls and even the bride. But for now, you’ll have to cope with a few snaps of yours truly…

flowercrowncollage2flowercrownme

Lots of handmade love 

Michelle xxx

Book Review: Handmade Wedding Crafts by Betty Bee

Being totally obsessed by crafts and all things wedding I have managed to acquire a fair few creative texts over the years. The most recent addition to my collection is Handmade Wedding Crafts by Betty Bee. Bursting with beautiful images, this book features 35 amazing DIY projects, including wedding decorations, accessories, favours, and more. The book is split into four chapters, each with a different theme. Choose from ‘Shabby Chic’, ‘Quirky Glamour’ and ‘Fabulous Vintage’ style ideas, or dive into the ‘Crafting over Cocktails’ section – full of quick and easy projects perfect for completing with friends.

IMG_4389_Snapseed_opt IMG_4391_Snapseed_opt IMG_4393_Snapseed_opt shoe_Snapseed lampshade_Snapseed

This book is packed full of original ideas from fabric and button bouquets through to china teacup centre pieces and confetti crackers. I LOVE the decorated guest flip flops, displayed in a vintage lampshade as shown in the image above. Another one of my favourite projects is the ‘Birdcage Veil’, super chic and very quirky. All projects have been created with busy lives in mind and are simple to follow even for the novice crafter.

There are helpful hints and tips about how and where to acquire the materials needed, such as asking family and friends to donate old items, scouring thrift stores and car boot sales. Betty also explores alternative ways in which your creations could be used. For example, in the ‘Bow-tie Corsage’ project she points out that you could also use the bow ties as hair fascinators or make them for all of your ushers to wear instead of the usual tie.

I often find that wedding DIY books are great for providing inspiration but don’t always give you all the nitty-gritty details necessary for making your own pieces. That’s where the book really stands out from the crowd. Not only is it packed with beautiful images and ideas, but it’s highly practical too, with easy to follow step by step instructions for each project.

I would highly recommend Handmade Wedding Crafts as a good starting point for couples looking for some inspiration and easy to follow projects for their wedding. If you’re looking to personalise your day then this book will help you to create beautiful items, make huge savings, and produce something unique.

As Betty says “Remember, it’s your wedding – you are unique so why shouldn’t your wedding be unique too?”

Have you read any DIY wedding books that you think other couples would find useful? If so, leave a comment below and share the handmade love. 

Michelle xxx

Make-up DIY: Professional Tips for a Woodland Themed Wedding

Another wedding theme set to be popular for this year is the woodland themed wedding. In this stunning post, Frances Moore, sensational makeup artist answers a question sent in from a lovely bride-to-be and shows you how to achieve the perfect natural and dewy forest look for your special day.

Over to Frances…

Question: I’m going for a ‘woodland’ wedding theme look for my big day and want my make-up to be as natural as possible yet still create a wow-factor version of me. Is this possible?

Yes! The most important part before attempting to apply makeup is to make sure that your base is as perfect as possible.

Starting approximately 6 months before the big day you need to be putting in the groundwork and have a good solid skin routine.  If this is something alien to you, or if you have not changed your products for some time, then I highly recommend a skin consultation. I personally find Clinique to be the best.

Once your base is lovely and flawless you can start to apply a primer all over your face, this will ensure that your makeup stays put. Go for a clear, light primer like Smashbox Photo Finish Foundation. Start covering up any dark circles with corrector and then concealer. The concealer can later be used to disguise any naughty spots after you have applied foundation.

95_optImage by White Cat Studio

For the Foundation you want to have a good colour match. Buy a good quality brand a week before your wedding to account for any change in pigmentation.  For example, if you’ve been on holiday and caught a light tan I would use Smashbox Studio Skin 15hr Wear Hydrating Foundation. This doesn’t contain SPF so it will help with avoiding flashback* on your all important photographs.

To hold the makeup in place use a clear translucent powder.  Use a bronzer to highlight around the face, down the neck and sweep across the cheekbones.  Add a little blush across the apples of the cheeks to create that outdoorsy look.

To keep a natural, fresh look for the brows simply groom them through and if needed, lightly pencil in any gaps using an eyebrow pencil or similar toned eyeshadow to your brows.

Next move onto the eyes. Keep it simple by first applying a primer all over the eyelid and up to the brow bone (Urban Decay Eyeshadow Primer Potion in Original is great for this). Then sweep a natural tone matt shadow all over the lid (BB eyeshadow in Bone or MAC shadow in vanilla works well), then add a hint of colour on the crease of the lid and blend it across.  Here you can really go for the ‘woodland’ theme by going for browns, greens, ombre or even gold tones! Next use the coloured shadow to line your lash line, or for a deeper effect line with black or brown eyeliner. Curl the lashes and sweep through waterproof mascara.

If you want to go one step further & really create the WOW factor, then apply PAPERSELF false eyelashes in Deer & Butterfly.

Lastly, add colour to the lips using a natural toned lipstick, or just go for good old lip salve that has a hint of a rose or peachy colour.

162_opt

132_opt

Images by White Cat Studio

Wow!! Thank you so much Frances! What fantastic tips! If you’re a bride or groom to be with a burning question then please write in and I will do all I can to answer it here for you on the blog.

You can find out more about Frances on her beautiful website www.francesmooremua.co.uk and if you’re super impressed by the stunning imagery here (‘cos I sure am!) then head over to www.whitecatstudio.net to see more!

Lots of DIY love

Michelle xxx

*If you’re not sure what flashback is (This is just me Michelle chipping in as I had no idea until now!) the following video by Wayne Goss should explain this for you…